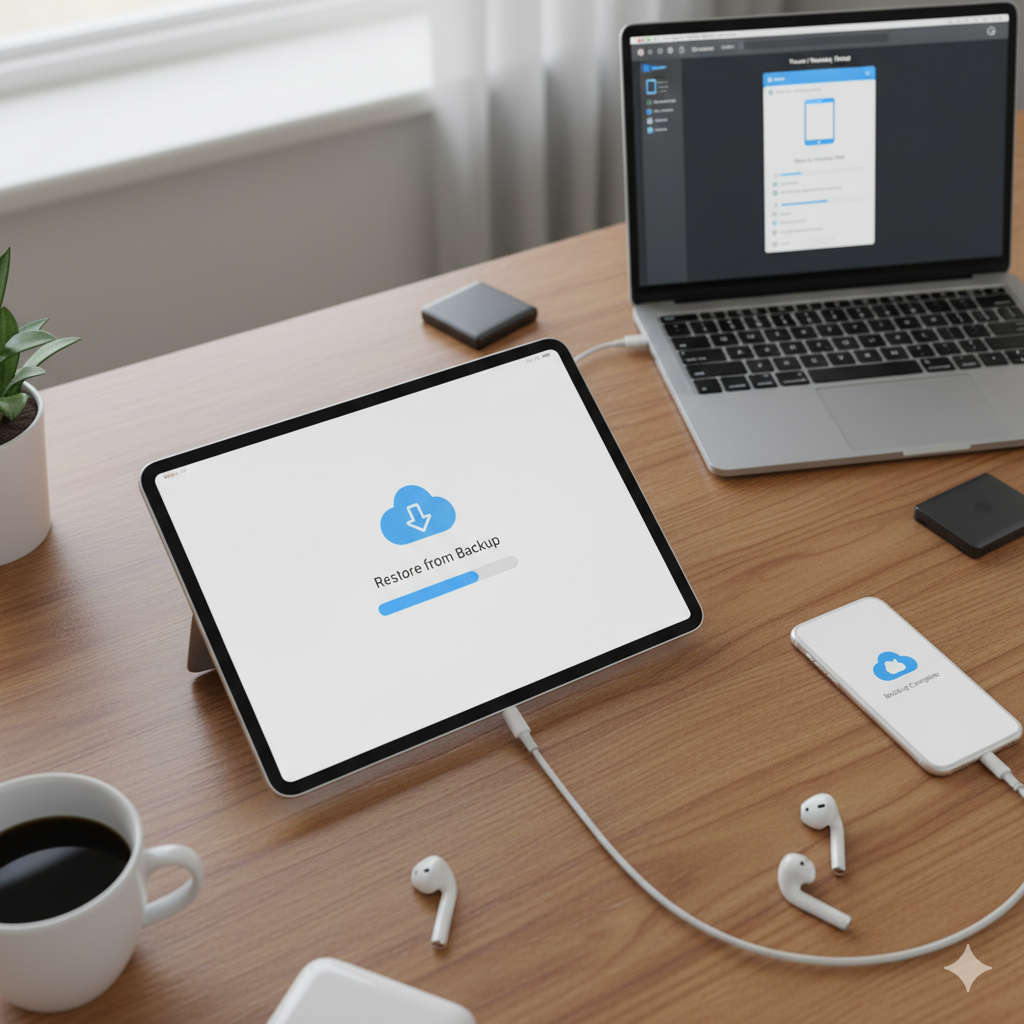
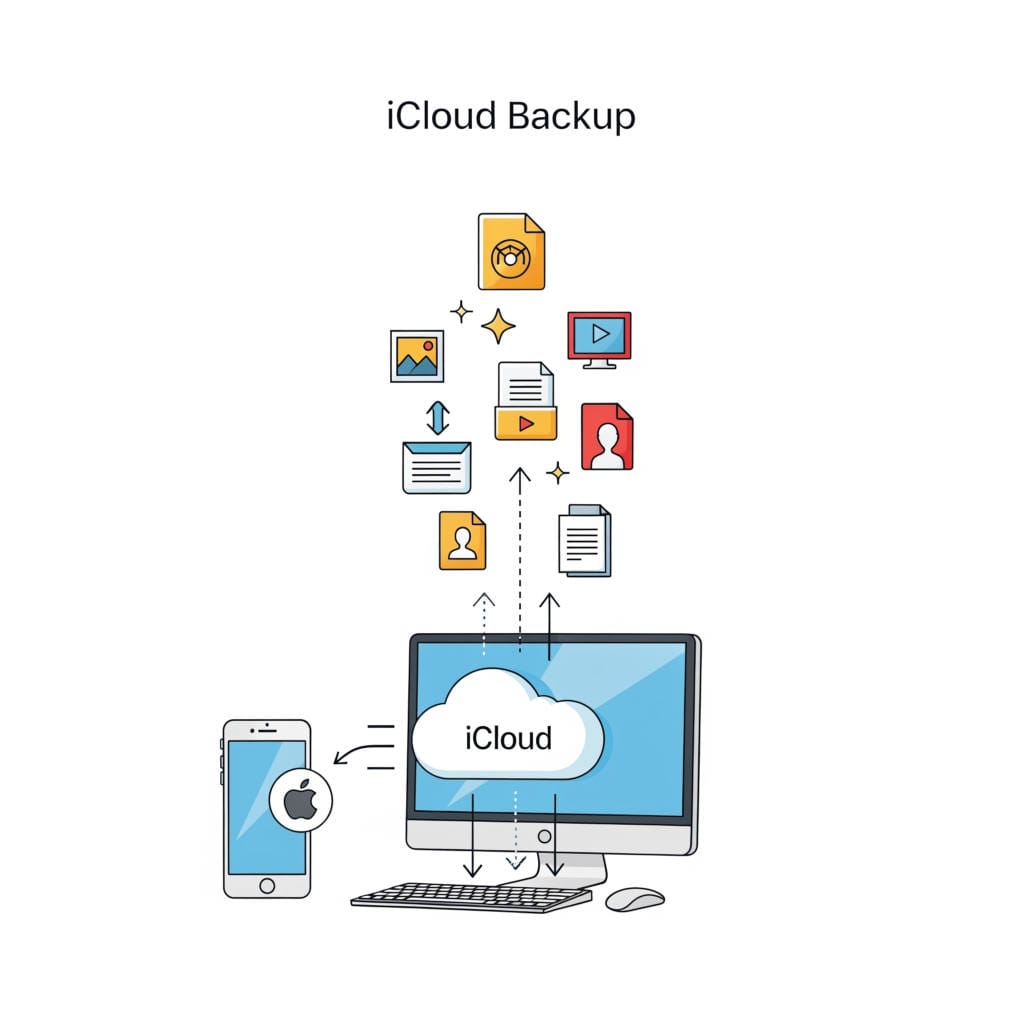
If you’ve ever lost your data, replaced your iPad, or had to reset it after a glitch, you know how stressful it can be to start over. Thankfully, Apple’s ecosystem makes it surprisingly easy to restore your iPad from a backup—bringing back your apps, photos, messages, and settings exactly how you left them.
Whether you’re restoring from iCloud, Finder, or iTunes, this comprehensive guide will walk you through every step, explain what gets restored, how to troubleshoot issues, and share expert tips to make the process effortless.
By the end of this guide, you’ll know exactly how to bring your iPad back to life—quickly, safely, and without losing a single memory.
An iPad is more than a tablet—it’s your notebook, camera, entertainment hub, and sometimes even your work companion. Restoring it from a backup ensures all your data, settings, and preferences come back after:
Buying a new iPad and wanting to transfer everything from your old one
Resetting your iPad to fix performance issues or forgotten passcodes
Accidentally deleting files, apps, or messages
Experiencing software crashes or failed updates
A backup is your safety net. It lets you pick up right where you left off without losing your important data or memories.
☁️ Understanding How iPad Backups Work
Before restoring, it’s important to know where your iPad stores your data. Apple offers two main types of backups: iCloud backups and computer backups. Each has its own advantages.
1. iCloud Backup
This is the most convenient method because everything happens automatically over Wi-Fi. iCloud securely stores your backup on Apple’s servers, allowing you to restore it from anywhere.
What’s included in an iCloud backup:
App data and settings
Home Screen layout and app organization
Messages (iMessage, SMS, and MMS)
Photos and videos (if iCloud Photos is disabled)
Purchase history for apps, books, and subscriptions
Ringtones, wallpapers, and visual voicemail
What’s not included:
Face ID or Touch ID data
Apple Pay details
Data already synced to iCloud (like Contacts, Notes, and iCloud Photos)
To check your iCloud backup:
Go to Settings → [Your Name] → iCloud → iCloud Backup
Make sure it’s turned ON
Tap Back Up Now if you’d like to create a fresh backup before restoring
Pro Tip: Make sure you have enough iCloud storage. If your free 5GB isn’t enough, upgrading to iCloud+ (50GB, 200GB, or 2TB) ensures you never lose a backup due to space limits.
2. Computer Backup (Finder or iTunes)
If you prefer a physical backup or have limited iCloud space, you can use your computer. On Macs running macOS Catalina or later, you’ll use Finder. On older Macs or Windows PCs, you’ll use iTunes.
Computer backups can be faster to restore and more complete, especially if you enable encryption (which saves your passwords, Health data, and Wi-Fi settings).
To create a computer backup:
Connect your iPad to your computer using a USB or USB-C cable.
Open Finder (Mac) or iTunes (Windows).
Select your iPad.
Choose Back Up Now.
(Optional) Check “Encrypt local backup” to include sensitive data.
🔋 Before You Begin Restoring
Before jumping into the restore process, take a few minutes to prepare. These small steps will prevent interruptions or data loss.
Check your backup: Make sure your latest iCloud or computer backup exists and is recent.
Charge your iPad: Keep your device plugged in or at least 50% charged.
Connect to stable Wi-Fi: iCloud restores require a strong and stable connection.
Update iPadOS: If your iPad is running an older version of iPadOS, update it first so it’s compatible with the backup version.
Know your Apple ID and password: You’ll need these to access iCloud or activate your device after restoring.
💡 Optional Accessories: If your Wi-Fi is unreliable, consider using the Apple USB-C to Ethernet Adapter for a wired connection. This ensures a faster, more stable restore process.
🧭 How to Restore Your iPad from an iCloud Backup
If you’ve recently erased your iPad or just unboxed a new one, restoring from iCloud is the most straightforward way to get everything back.
Step-by-Step Guide:
Turn on your iPad.
You’ll see the “Hello” or setup screen.
Follow the setup prompts.
Choose your language, region, and connect to Wi-Fi.
Reach the “Apps & Data” screen.
This is where you choose how to set up your device.
Select “Restore from iCloud Backup.”
Sign in with your Apple ID.
Use the same Apple ID associated with your backup.
Choose the backup to restore.
Look at the backup date and size to select the most relevant one.
Wait for the restore to complete.
Your iPad will download data, apps, and settings from iCloud. Depending on your backup size and internet speed, this can take anywhere from a few minutes to several hours.
Keep your iPad connected to Wi-Fi and power.
Interrupting the process could cause incomplete restores.
Once it’s done, your iPad will restart and continue downloading remaining apps and media in the background. After a while, it’ll look just like your old iPad—same layout, same apps, same feel.
💻 How to Restore Your iPad Using Finder or iTunes
If your backup is stored on a Mac or PC, here’s how to restore your iPad from it.
On a Mac (Finder)
Connect your iPad using a USB-C or Lightning cable.
Open Finder and select your iPad under Locations.
Click Restore Backup.
Select your preferred backup from the list.
Enter your password if the backup is encrypted.
Wait for the restore to complete.
Keep your iPad connected until it finishes syncing and restarts.
On a Windows PC (iTunes)
Connect your iPad to your PC.
Open iTunes and click the iPad icon near the top-left corner.
Select Restore Backup.
Choose your backup file.
If it’s encrypted, enter your backup password.
Click Restore and wait for the process to finish.
Once your iPad restarts, sign in with your Apple ID and let apps and media finish syncing.
🔧 Pro Tip: Use an Apple-certified USB-C to USB-A cable or a Lightning to USB 3 Camera Adapter if your computer has limited ports. Avoid cheap knock-offs; they can interrupt the restore process or corrupt your connection.
🔄 Restoring a Backup After Setup
If you’ve already set up your iPad and realized later that you forgot to restore from a backup, you’ll need to erase your device first. Don’t worry—it’s simple.
Here’s how:
Go to Settings → General → Transfer or Reset iPad.
Tap Erase All Content and Settings.
Confirm and enter your passcode.
Your iPad will reboot and show the “Hello” setup screen.
Now, follow the earlier instructions to restore from iCloud or Finder/iTunes during setup.
⏳ How Long Does It Take to Restore?
The time required depends on a few factors:
Factor
Impact on Speed
Backup Size
Larger backups take longer
Internet Speed
Slow Wi-Fi = longer restore time
Device Model
Newer iPads process data faster
Server Load
Heavy iCloud traffic can delay restores
Average Times:
Small backups: 15–30 minutes
Medium backups: 1–2 hours
Large backups (50GB+): Several hours
If you’re restoring a large iCloud backup overnight, plug your iPad into power and let it run while you sleep.
🧩 What Gets Restored — and What Doesn’t
When restoring from a backup, Apple does a fantastic job of returning your iPad to how it was, but not everything comes back perfectly.
✅ Data That Restores
Apps, app data, and layout
Photos and videos (if included)
Messages and message threads
Notes, Calendar, Reminders, and Safari bookmarks
Device settings and preferences
Wallpaper and ringtones
🚫 Data That Doesn’t
Apple Pay details
Face ID or Touch ID data
iCloud Keychain (unless encrypted backup)
Music not purchased through Apple Music
Files saved outside iCloud Drive or the Files app
Expert Tip: If you use productivity apps like Notability or GoodNotes, double-check that your notes sync to iCloud or another cloud service before restoring.
🧠 Troubleshooting Common Restore Issues
Even though restoring your iPad is usually smooth, issues can occasionally appear. Here’s how to fix them.
1. Backup Not Showing Up
Ensure you’re logged into the correct Apple ID.
Update your iPad to the same or newer iPadOS version as the backup.
Reconnect to Wi-Fi and try again.
2. Restore Stuck or Failing
Restart your router and iPad.
Keep your iPad on power to prevent disconnections.
Try switching to a different Wi-Fi network.
If restoring via iTunes, use a different cable or USB port.
3. Missing Apps or Photos
Some apps download after the initial restore. Be patient.
Check iCloud Photos and Messages in iCloud toggles in Settings.
Manually reinstall missing apps from the App Store.
4. iTunes or Finder Doesn’t Recognize iPad
Update iTunes or macOS to the latest version.
Restart both devices.
Try a different USB cable.
For Windows, reinstall the Apple Mobile Device driver.
🛠️ Tips for a Flawless Restore
Here are some professional tips to ensure your restore experience goes smoothly every time:
Backup before every major update.
Always create a fresh backup before installing new iPadOS versions.
Use both iCloud and local backups.
Having two copies means double protection.
Label your devices.
Rename your iPad in Settings → General → About → Name so you can identify the right backup later.
Avoid using your iPad during restore.
Let it complete the process fully before interacting with it.
Check your apps afterward.
Log in to critical apps like banking, health, or work tools again.
Keep storage clean.
Delete outdated backups to save space.
Use Apple-certified accessories.
When restoring from a computer, always use original or MFi-certified cables.
🧾 Checking When Your Last Backup Was Made
For iCloud:
Open Settings → [Your Name] → iCloud → iCloud Backup.
You’ll see the date and time of your last successful backup.
For Finder/iTunes:
Connect your iPad.
Open Finder or iTunes.
View Latest Backup under the Backup section.
If your last backup is old, consider creating a new one before restoring to avoid losing recent data.
💡 What to Do After the Restore Is Complete
Once your iPad has been successfully restored:
Re-enable Face ID or Touch ID.
These features must be set up again manually.
Add your Apple Pay cards.
Open Wallet and re-add your debit or credit cards.
Check app permissions.
Review privacy settings like location access and notifications.
Verify iCloud syncing.
Ensure Photos, Contacts, and iCloud Drive are toggled ON.
Pair your Apple Watch again (if applicable).
Create a new backup.
Now that everything’s restored, make a fresh backup for future security.
🛒 Recommended Products for a Smooth Restore Experience
While not required, a few Apple-certified accessories can make the restoration process faster, safer, and more reliable:
All these accessories help ensure consistent power, data stability, and speed throughout the backup and restore process.
🧭 Key Takeaways
Always keep a recent backup (iCloud or computer).
Restoring from iCloud is easiest; Finder/iTunes is fastest.
Prepare by charging your iPad, connecting to stable Wi-Fi, and updating iPadOS.
Double-check all apps and settings after the restore.
Create a fresh backup afterward for extra security.
🧘 Final Thoughts
Restoring your iPad from backup might sound technical, but once you understand the process, it’s remarkably simple. Apple designed backups to protect your data and make transitions between devices seamless.
Whether you’re moving to a new iPad, recovering from a crash, or just performing routine maintenance, restoring from backup ensures that your photos, files, and memories are safe—and ready to pick up right where you left off.
Take the time to back up your device regularly, use the right accessories, and stay patient during the restore process. In just a few steps, your iPad can feel brand new again—without losing any of what makes it yours.