Losing precious memories, important messages, or critical app data can be heartbreaking. When it comes to restoring your iPhone or iPad from an iCloud backup, many users worry about accidentally wiping out their current information. The good news? You can restore your iCloud backups safely without losing valuable data if you follow the right approach.
This guide breaks down everything you need to know about iCloud backup restoration, from understanding what gets saved to executing a flawless recovery that keeps all your important information intact.
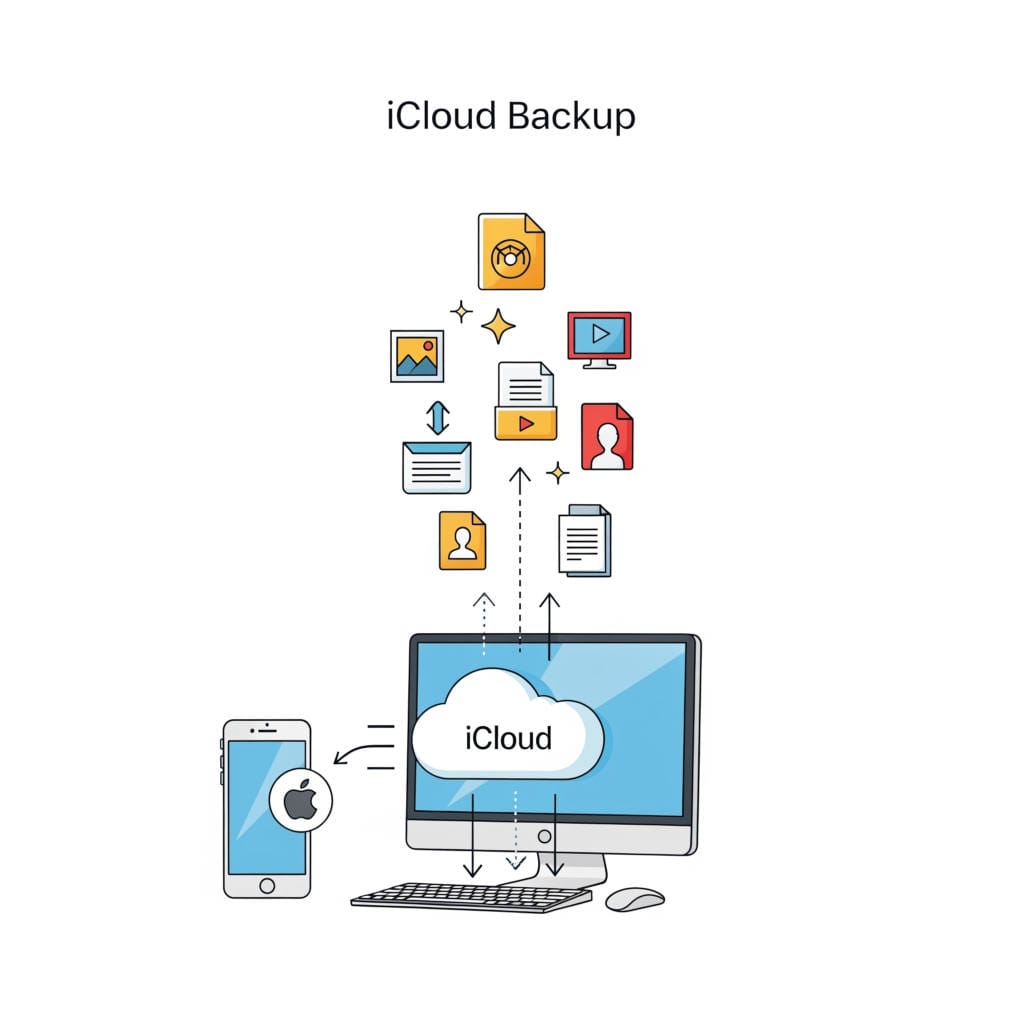
Understanding what iCloud saves is your first step toward a successful restoration. Your iCloud backup acts like a safety net, but it doesn’t catch everything.
Your backup includes device settings and preferences, app data from compatible applications, your home screen layout, text messages and iMessages, photos and videos in your camera roll (when iCloud Photos is disabled), purchased content history, ringtones, and your visual voicemail.
However, iCloud skips certain items. If you’ve enabled iCloud Photos, your images sync separately and aren’t part of the standard backup. The same applies to contacts, calendars, mail, notes, and files stored in iCloud Drive. These live in the cloud permanently and sync across devices automatically. Music from streaming services, downloaded movies, the apps themselves, Face ID settings, and Apple Pay cards also stay outside your backup.
This distinction matters tremendously. Items already syncing through iCloud services won’t be affected when you restore a backup, while everything else reverts to its state at backup time.
Why People Lose Data During Restoration
Here’s the problem most users face: restoring an iCloud backup replaces your current device content with whatever existed when that backup was created. Think of it as turning back the clock on your device.
Imagine your last backup happened Monday morning. If you restore that backup on Thursday, everything you did between Monday and Thursday vanishes unless it was syncing through iCloud services. New photos, recent messages, freshly downloaded apps, and any changes made during those three days simply disappear.
This timeline gap causes most data loss during restoration. The solution isn’t avoiding backups or restorations. It’s managing the process strategically.
Preparing for a Safe Restoration
Smart preparation prevents data loss. Before touching any restore button, follow these essential steps.
First, create an up-to-the-minute backup. Open your Settings app, tap your name at the top, navigate to iCloud, then iCloud Backup. Check when your last backup occurred. If it’s not recent, tap “Back Up Now” and let it complete. Keep your device connected to WiFi and plugged into power during this process.
Second, enable iCloud syncing for all important data types. Go to Settings, tap your name, select iCloud, and turn on the toggle switches for Photos, Contacts, Calendars, Reminders, Notes, and Safari. This ensures these items sync continuously rather than relying solely on backups.
Third, manually save any critical information. Export important contacts, save essential photos to your computer, and back up crucial documents to alternative cloud storage like Google Drive or Dropbox. This creates a safety net beyond iCloud.
Fourth, write down or screenshot important app login credentials. Some apps require fresh logins after restoration, and you’ll thank yourself for having those passwords handy.
Method One: Complete Device Restoration
This approach works best when setting up a new device or fixing serious software problems requiring a full reset. It’s straightforward but replaces everything on your device.
Start by verifying you have a current backup using the steps mentioned earlier. If you’re restoring your existing device rather than a new one, you’ll need to erase it first. Navigate to Settings, then General, find Transfer or Reset iPhone, and select “Erase All Content and Settings.” Your device will wipe itself clean.
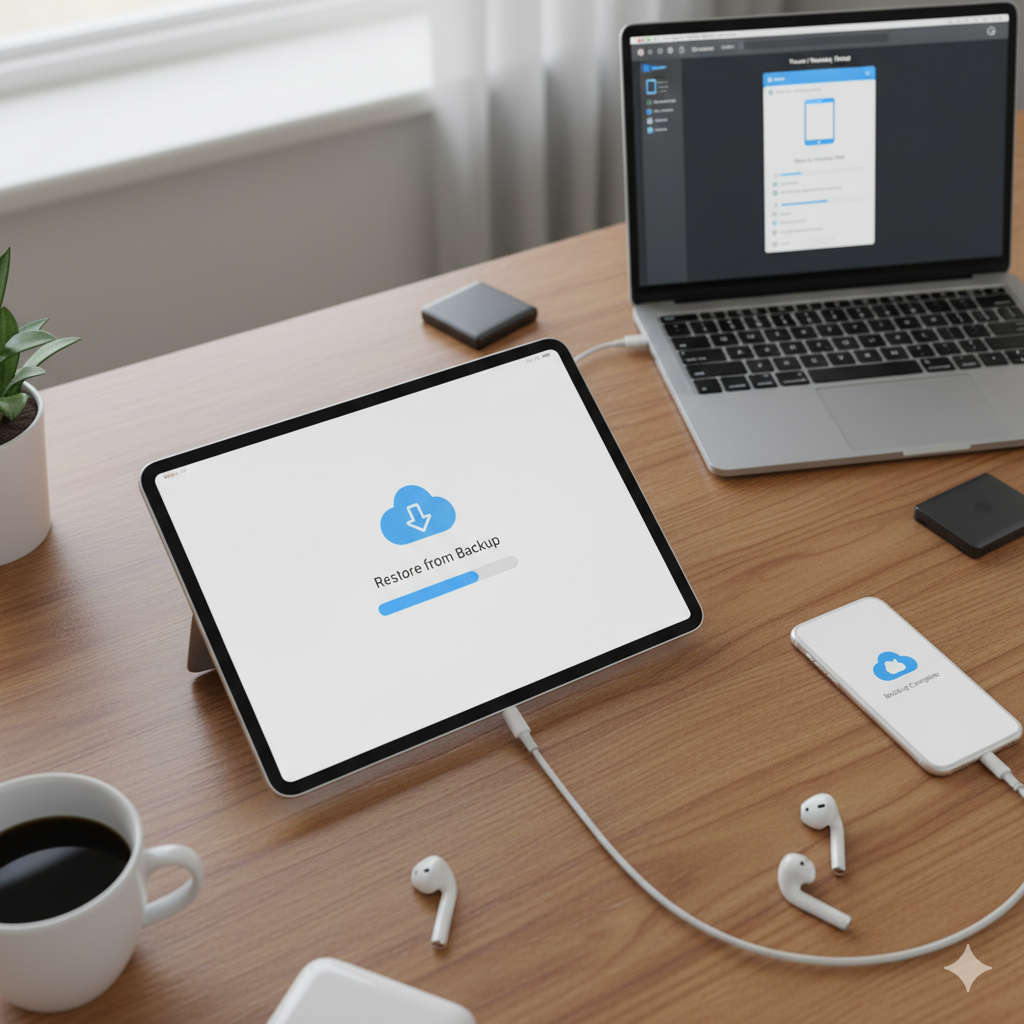
When your device restarts or you power on a new device, follow the welcome screens until you reach “Apps & Data.” Select “Restore from iCloud Backup” and sign into your Apple ID. You’ll see a list of available backups with dates. Choose your most recent backup unless you specifically need an older version.
Your device begins downloading everything from iCloud. This process demands patience. Depending on your backup size and internet speed, restoration can take anywhere from 20 minutes to several hours. Keep your device plugged in and connected to stable WiFi throughout.
Apps reinstall themselves automatically, though you may need to wait for them to download. Your settings, preferences, and most data return exactly as they were at backup time.
The downside? Anything created after your backup date that wasn’t syncing through iCloud services disappears. This is why timing your backup right before restoration is absolutely critical.
Method Two: Selective Data Recovery
Sometimes you don’t need a nuclear option. Maybe you only want to recover deleted photos or restore contacts you accidentally removed. Selective restoration lets you target specific data without touching everything else.
For photos and videos, ensure iCloud Photos is enabled in Settings under your name, then iCloud, then Photos. Your entire photo library syncs across devices automatically. If you deleted photos recently, check the “Recently Deleted” album in your Photos app. Items stay there for 30 days before permanent deletion.
Contacts can be restored individually without affecting other data. Visit the iCloud website on your computer, sign in, click Account Settings at the bottom, scroll to Advanced, and select Restore Contacts. You’ll see archived versions from different dates. Choose the one you need and confirm. Your contacts update across all devices while everything else remains untouched.
The same process works for calendars, reminders, and bookmarks. Each has its own restore option under Advanced settings on the iCloud website. This surgical approach prevents the collateral damage of a full device restore.
Files in iCloud Drive include their own protection. The Files app has a “Recently Deleted” folder where removed items wait for 30 days. Recover files from there before they permanently disappear.
Safari bookmarks can also be rolled back to previous dates using the iCloud website’s restore function. This helps when you accidentally delete important website saves.
Using Your Computer for Backup and Restoration
While iCloud offers convenience, backing up to your computer provides additional control and speed. On Windows or older Mac computers, iTunes handles this. On newer Macs, Finder takes over.
Connect your iPhone to your computer with a cable. Open iTunes or Finder, select your device, and click “Back Up Now.” For complete backups including passwords and health data, enable “Encrypt local backup” and create a password you’ll remember.
Local backups are typically faster than iCloud and don’t count against your storage limit. They’re especially useful if you have slow internet or limited iCloud space.
Restoring from a computer backup follows similar principles to iCloud restoration. Your device returns to its state at backup time, so timing matters just as much.
Recommended Equipment for Smooth Backups
Having the right tools makes backup and restoration easier and more reliable.
A quality Lightning to USB cable ensures stable connections during computer backups. Original Apple cables or certified MFi accessories work best. Cheap knockoff cables often fail during lengthy backup processes.
An external hard drive provides excellent storage for multiple local backups. Drives from Western Digital or Seagate in the 1TB to 2TB range offer plenty of space for several complete iPhone backups plus other files.
A reliable wireless router matters more than most people realize. Backing up to iCloud requires stable WiFi, and spotty connections cause failed backups or incomplete restorations. Modern mesh WiFi systems from brands like TP-Link or Google Nest ensure strong signals throughout your home.
Troubleshooting Common Problems
Even careful planning sometimes hits snags. Here’s how to solve typical restoration issues.
“Not Enough iCloud Storage” appears when your backup exceeds available space. You can purchase more storage through Settings, tapping your name, selecting iCloud, then Manage Storage, and choosing a larger plan. Alternatively, reduce backup size by excluding large apps. Many games and video apps don’t need backup since you can redownload them.
Restoration hanging or moving extremely slowly usually indicates WiFi problems. Check your internet speed and router connection. Restart your router if needed. Keep your device plugged into power continuously. If progress completely stalls for over four hours, restart your device and try again.
Some apps failing to restore properly is normal for applications with their own cloud syncing. WhatsApp, for instance, maintains separate backup systems. Open these apps after restoration and let them sync from their own services.
Missing messages or photos often mean those items were syncing through iCloud services rather than stored in backups. Enable iCloud Messages and iCloud Photos in Settings, connect to WiFi, and wait for syncing to complete.
“Unable to Restore Backup” typically means your backup came from a newer iOS version than your device currently runs. Update to the latest iOS version through Settings, General, Software Update, then try restoring again.
Advanced Protection Strategies
Power users can employ additional tactics for maximum data safety.
Maintain two backup types simultaneously. Use both iCloud and regular computer backups. This redundancy protects against single-point failures. If your iCloud account has issues, your computer backup saves you. If your computer crashes, iCloud has you covered.
Schedule regular backup checks. Set a monthly reminder to verify your backups are completing successfully and contain recent data. Many people discover backup failures only when they desperately need to restore.
Test your backups occasionally. If you have an old device sitting unused, try restoring a backup to it. This confirms your backups work properly without risking your primary device.
Keep your old device active temporarily when switching to a new iPhone. Don’t erase or trade it in immediately. Use both devices for a few days to ensure everything transferred correctly. This gives you a fallback option if something went wrong.
Document your important settings and configurations with screenshots. Some preferences and customizations don’t backup perfectly. Having visual references helps recreate them if needed.
What to Do After Data Loss
If you’ve already restored and lost data, don’t panic. Recovery options still exist.
Check every “Recently Deleted” folder across your apps. Photos, Notes, Files, and Mail all maintain these temporary holding areas. Items typically stay recoverable for 30 days.
Review older backups in your iCloud account. Visit Settings, tap your name, select iCloud, then Manage Storage, and tap Backups. You might find older backups containing the missing information.
Visit the iCloud website and check Recently Deleted albums and folders there. Sometimes items remain in cloud storage even after device restoration.
Third-party recovery software designed for iOS devices sometimes retrieves lost data. Research reputable options carefully, as quality varies dramatically. Professional data recovery services exist but can be expensive. They’re worth considering for truly irreplaceable information.
Check if missing data exists in other locations. Did you email that important photo to someone? Is that document saved in another cloud service? Do you have the file on your computer?
Creating a Personal Backup Strategy
Develop a systematic approach to protect your data long-term.
Enable automatic iCloud backups in Settings. Your device backs up daily when plugged in, locked, and connected to WiFi. This passive protection requires no effort once configured.
Turn on iCloud syncing for all important data types. Photos, contacts, notes, calendars, and other key information should sync continuously. This eliminates the backup-restore gap where data loss occurs.
Perform manual computer backups monthly or before major iOS updates. Connect your device, open iTunes or Finder, and create a fresh backup. Store these on an external drive for extra security.
Use third-party cloud storage for irreplaceable files. Keep copies of critical documents, special photos, and important information in Google Drive, Dropbox, or OneDrive. Multiple copies in different locations provide ultimate protection.
Export important data periodically. Save contacts as files, download photo albums to your computer, and back up essential notes elsewhere. This creates recovery options beyond Apple’s ecosystem.
Understanding iCloud Storage Plans
Free iCloud accounts include 5GB of storage, which fills quickly with photos and backups. When you exceed this limit, backups stop working automatically.
The 50GB plan handles most users’ needs comfortably, accommodating device backups plus moderate photo storage. It’s the minimum recommended for serious backup protection.
The 200GB plan suits families or photography enthusiasts. Multiple family members can share this storage pool, and it holds extensive photo libraries plus several device backups.
The 2TB plan serves power users with multiple devices, massive photo collections, and large file storage needs. It’s essentially unlimited for typical personal use.
Upgrade your plan through Settings by tapping your name, selecting iCloud, then Manage Storage, and choosing Change Storage Plan. Plans cost just a few dollars monthly and provide invaluable peace of mind.
Making Restoration Stress-Free
Restoring iCloud backups doesn’t need to be nerve-wracking. Success comes from understanding how backups work and preparing properly.
Remember that backups are snapshots frozen in time. Anything created after that snapshot disappears unless it syncs separately through iCloud services. This fundamental truth drives every smart restoration strategy.
Always create a fresh backup immediately before restoration. Those extra few minutes eliminate the gap where data loss occurs.
Enable iCloud syncing for everything important. Let contacts, photos, notes, and other crucial information sync continuously rather than depending on periodic backups.
Take your time during restoration. Don’t rush the process or interrupt it. Keep your device plugged in with solid WiFi connectivity until completion.
Verify everything after restoration. Check your photos, messages, apps, and settings. Make sure nothing important disappeared. If something’s missing, you can often recover it from Recently Deleted folders or older backups.
Your Data Deserves Protection
Your iPhone or iPad contains more than just information. It holds memories, conversations, creative work, and pieces of your life. Protecting that data through smart backup and restoration practices preserves what matters most.
The methods in this guide give you complete control over your data during restoration. Whether you need a full device reset or just want to recover specific deleted items, you now have the knowledge to proceed confidently.
Start by checking your backup settings today. Ensure automatic backups are enabled and iCloud syncing is turned on for your important data. This five-minute investment protects against future data loss and makes any future restoration smooth and stress-free.
Remember that the best data recovery happens before you need it. Regular backups, enabled syncing, and occasional verification mean you’ll never face that sinking feeling of irreplaceable data loss. Your digital life deserves that level of care.